Introduction:
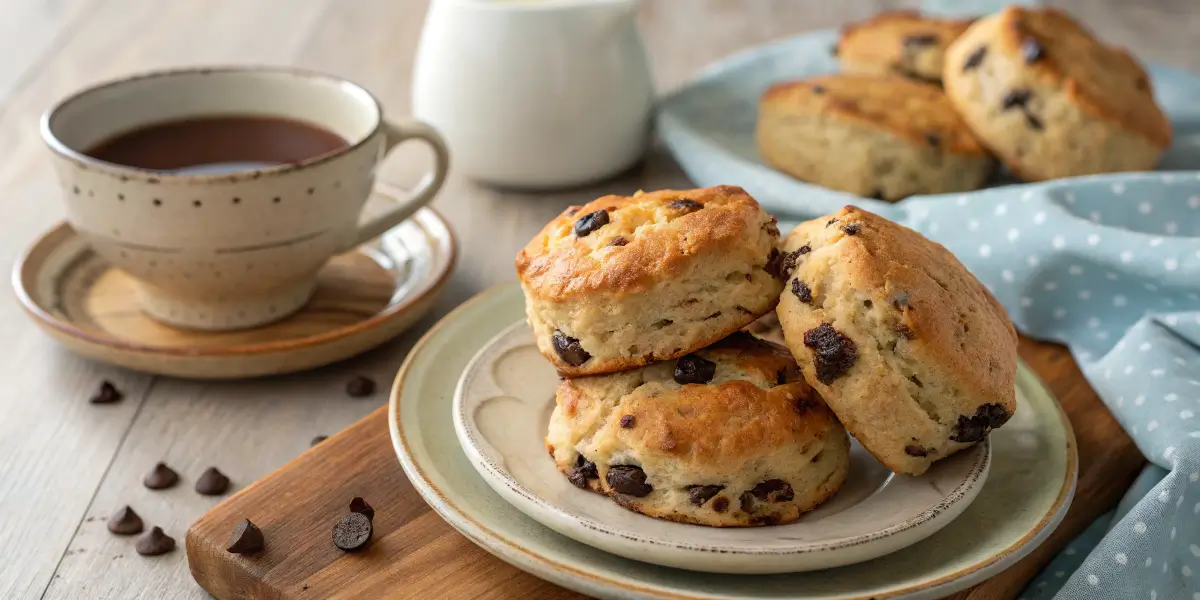
There’s something truly special about making a chocolate chip scone recipe at home. The moment you take that first bite, you’re met with a soft, crumbly interior, golden edges, and rich pockets of gooey chocolate that melt in your mouth. Baking chocolate chip scones at home fills your kitchen with a delightful aroma, creating a warm, inviting atmosphere that’s hard to resist. Whether you’re enjoying them for breakfast, serving them at an afternoon tea, or treating yourself to a sweet snack, these homemade scones are always a hit.
If you’ve ever wondered how to make the perfect chocolate chip scone recipe at home, this guide will take you through every step.. Whether you’re a novice baker or someone looking to refine your skills, these scones will bring that delicious bakery quality experience to your own kitchen. With the right ingredients, a few simple techniques, and a little patience, you’ll be making golden, melt-in-your-mouth chocolate chip scones in no time. Let’s dive in and create these mouthwatering treats that everyone will love.
If you’re a fan of classic scones, be sure to check out our English scones recipe for a traditional treat
What Makes a Perfect Chocolate Chip Scone?
Texture and Flavor: The Key to Perfection
When it comes to chocolate chip scones, achieving the right texture and flavor balance is essential. These two elements determine the overall quality of your scones. A perfect scone should be:
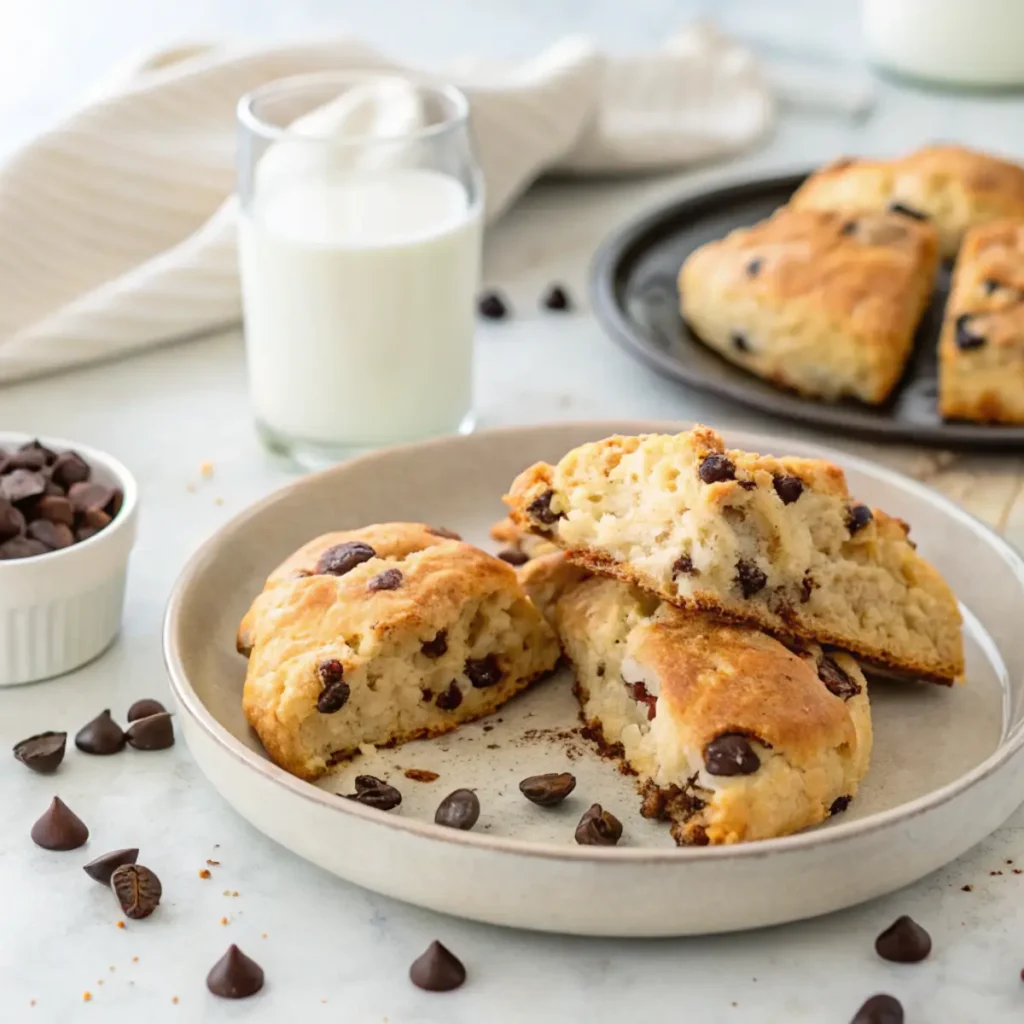
- Light and flaky on the outside: The scone should have a crisp, golden exterior that gives way to a soft, pillowy interior.
- Tender on the inside: The texture should melt in your mouth without being dry or too crumbly.
- Balanced sweetness: You don’t want the scone to be overwhelmingly sweet. The sugar should complement the richness of the butter and the bitterness of the chocolate chips.
- Bursting with gooey chocolate: The chocolate chips should melt slightly during baking, creating pockets of rich, melty chocolate in every bite.
Achieving this perfect balance requires attention to detail and knowledge of the baking process. Let’s explore the essential ingredients and their role in creating the perfect chocolate chip scone.
Key Ingredients for Success
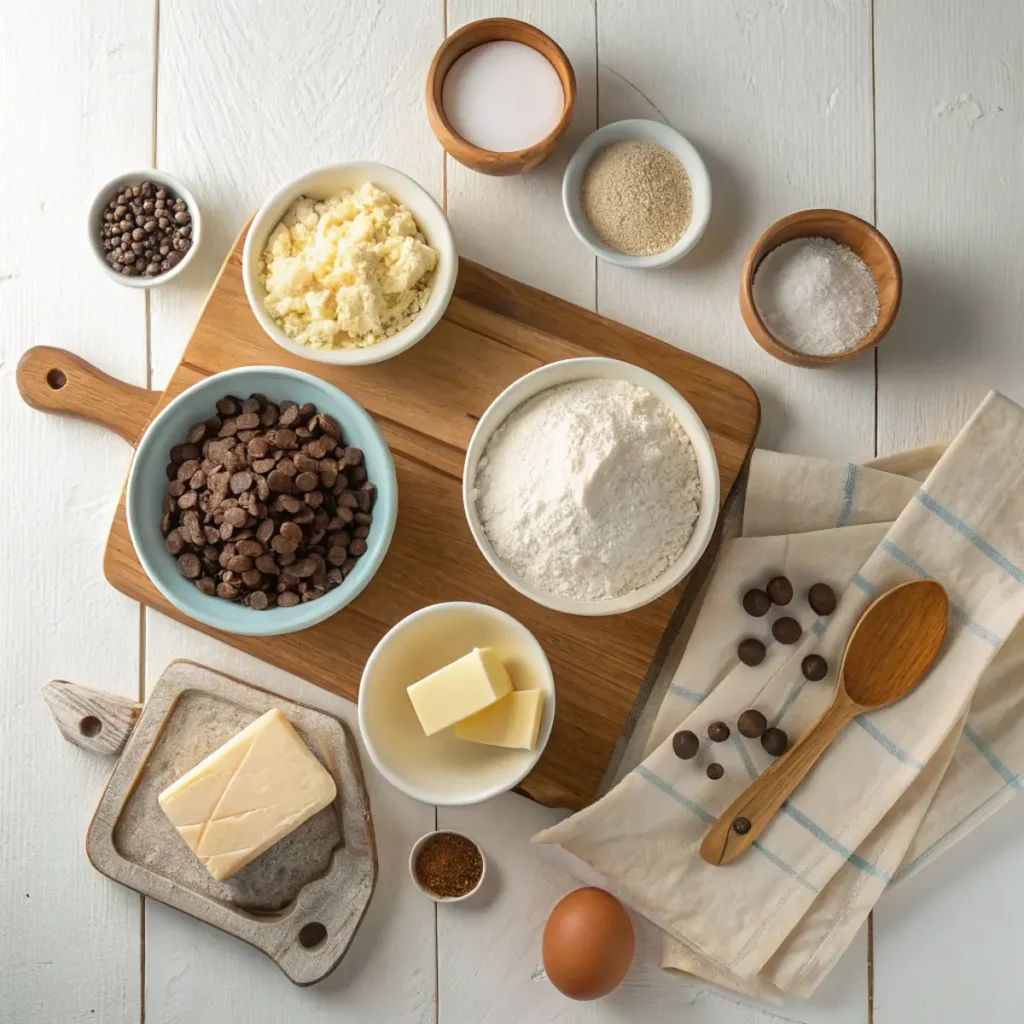
Flour: The foundation of any scone is flour. All-purpose flour is your best option, providing enough structure without being too dense. When measuring, ensure you’re using the correct method to avoid using too much flour, which can result in a dry, crumbly scone.
Baking Powder: This is your leavening agent, helping the scones rise and become light and fluffy. Be sure to use fresh baking powder to ensure it performs well.
Cold Butter: Butter is the key to flaky scones. It needs to be cold when mixed into the dough. The cold butter creates pockets of fat that form layers in the dough as it bakes, resulting in that desirable flaky texture.
Sugar: A little sweetness goes a long way in a scone. The sugar helps balance the rich flavor of the butter and the bitter notes of the chocolate chips. You don’t want to overdo it, though too much sugar can make the scones overly sweet and heavy.
Egg: The egg acts as a binding agent, holding the dough together and adding a richness to the scones. It also contributes to the overall texture and color of the scones.
Heavy Cream or Milk: Cream adds moisture to the dough and creates a soft, tender crumb. If you prefer a lighter option, you can substitute milk, though the scones may be a bit less rich.
Chocolate Chips: The star of the show! High-quality chocolate chips are a must for great-tasting scones. You can choose between semi-sweet, milk chocolate, or even dark chocolate, depending on your preference.
For a seasonal twist, try our delicious pumpkin scones recipe that’s perfect for autumn.
Essential Ingredients for Your Chocolate Chip Scones
To make perfect chocolate chip scones, you’ll need the following ingredients:
| Ingredient | Amount |
|---|---|
| All-purpose flour | 2 cups |
| Baking powder | 2 teaspoons |
| Granulated sugar | 1/4 cup |
| Cold butter | 1/2 cup (cubed) |
| Chocolate chips | 3/4 cup |
| Large egg | 1 |
| Heavy cream | 1/2 cup |
| Vanilla extract | 1 teaspoon |
This ingredient list provides everything you need for rich, buttery, melt-in-your-mouth scones that will be the highlight of your day.

Step-by-Step Guide: How to Make Chocolate Chip Scones
Follow these easy steps to bake your chocolate chip scone recipe, and you’ll have perfect scones in no time. Each step is designed to help you achieve that ideal texture and flavor.
Step 1: Prepare Your Ingredients
The key to successful baking is preparation. Preheat your oven to 400°F (200°C). While the oven heats, line a baking sheet with parchment paper to prevent the scones from sticking.
Measure out your dry ingredients: flour, baking powder, and sugar. In a large mixing bowl, whisk these together to ensure the baking powder and sugar are evenly distributed. This will help your scones rise and bake evenly.
Step 2: Cut the Cold Butter
Next, take 1/2 cup of cold butter and cut it into small cubes. Cold butter is essential for achieving the perfect texture. Add the butter cubes to the dry ingredients. Using a pastry cutter, two forks, or your fingertips, work the butter into the flour mixture. You want the mixture to resemble coarse crumbs, with small bits of butter still visible. These butter bits will melt during baking, creating flaky layers in your scones.
Step 3: Add Wet Ingredients
In a separate bowl, beat together 1 large egg and 1 teaspoon of vanilla extract. Add this egg mixture to your dry ingredients. Then pour in 1/2 cup of heavy cream (or milk, if preferred) and gently stir with a wooden spoon or spatula. The dough will start to come together. Don’t overmix! Overworking the dough can make the scones tough. Stir until just combined.
Step 4: Fold in the Chocolate Chips
Now, gently fold in 3/4 cup of chocolate chips. Be careful not to overwork the dough at this stage. You want the chocolate chips to be evenly distributed throughout the dough without overmixing. If you’d like, you can also add some dried fruits, like cranberries or raisins, for a fun twist.
Step 5: Shape the Dough
Turn the dough out onto a lightly floured surface. Use your hands to gently pat it into a circle that’s about 1 inch thick. Don’t worry if the dough seems a little shaggy that’s perfectly fine.
Using a sharp knife, cut the dough into 8 wedges (like you would a pizza). Alternatively, you can cut the dough into smaller rounds with a biscuit cutter if you prefer a more uniform shape.
Step 6: Bake Your Scones
Place the wedges on your prepared baking sheet, making sure they’re not too close to each other. Brush the tops of the scones with a little extra cream or milk to help them achieve that golden color when baked.
Bake for 18-20 minutes, or until the scones are golden brown and a toothpick inserted into the center comes out clean. Your kitchen will smell amazing by the time they’re done!
Step 7: Cool and Serve
Once your scones are out of the oven, allow them to cool on a wire rack for a few minutes. Scones are best served fresh, but if you have leftovers, you can store them in an airtight container for up to 2 days.

Tips for Perfect Chocolate Chip Scones Every Time
Want to ensure your scones turn out perfectly every time? Here are some helpful tips:
- Cold Ingredients are Key: Cold butter and cream are essential for achieving that flaky texture. The colder the butter, the flakier the scone.
- Don’t Overmix: When you add the wet ingredients, mix just until everything is combined. Overmixing will result in tough scones.
- Chill the Dough (Optional): If you have time, chilling the dough in the fridge for 15-20 minutes before baking will help the scones rise better and improve their texture.
- Experiment with Flavors: Want to switch things up? Try adding nuts, like pecans or walnuts, for added crunch. You could also add cinnamon, nutmeg, or orange zest for a more aromatic flavor.
- Choose High-Quality Chocolate: The chocolate chips play a big role in the flavor of the scones. Use high-quality semi-sweet or dark chocolate for the best results.
Craving fruity scones? Don’t miss our blueberry scone recipe for a fresh and flavorful option.
How to Store Chocolate Chip Scones
If you have leftover scones (though we doubt that will happen!), here’s how you can store them:
Short-Term Storage:
Store your scones in an airtight container at room temperature for up to 2 days. They’re best enjoyed fresh but will still be delicious for a short time.
Long-Term Storage:
To freeze scones, place them in a freezer-safe bag or container. You can freeze both unbaked dough and baked scones. To bake frozen scones, simply place them directly on a baking sheet and bake at 350°F for a few extra minutes.
FAQs About Chocolate Chip Scones
How Do I Make Chocolate Chip Scones Without Cream?
No heavy cream? No problem! You can substitute it with milk or even buttermilk. The texture may vary slightly, but your scones will still be delicious.
Can I Make Chocolate Chip Scones Ahead of Time?
Yes, you can. Prepare the dough and cut it into wedges. Freeze the dough, and when you’re ready to bake, just pop the frozen scones directly into the oven no need to thaw!
Can I Use Other Types of Chocolate?
Absolutely! While semi-sweet chocolate chips are the classic choice, you can use dark chocolate, milk chocolate, or even white chocolate for a fun twist.
Why Are My Scones Too Dense?
If your scones turn out dense, it could be due to overmixing the dough or using too much flour. Be sure to measure your flour properly, and mix the dough gently.
Conclusion:
Making the perfect chocolate chip scone recipe at home is an incredibly rewarding experience. With the right ingredients, and by following these easy steps, you can achieve the perfect scone flaky, tender, and packed with gooey chocolate. Moreover, these scones are perfect for breakfast, an afternoon snack, or even a light dessert.
Once you know how to make perfect chocolate chip scones, why not give the recipe a try? Before you know it, your kitchen will soon be filled with the irresistible scent of freshly baked scones, and you’ll be able to enjoy these delicious treats whenever the mood strikes. In the meantime, happy baking!

