
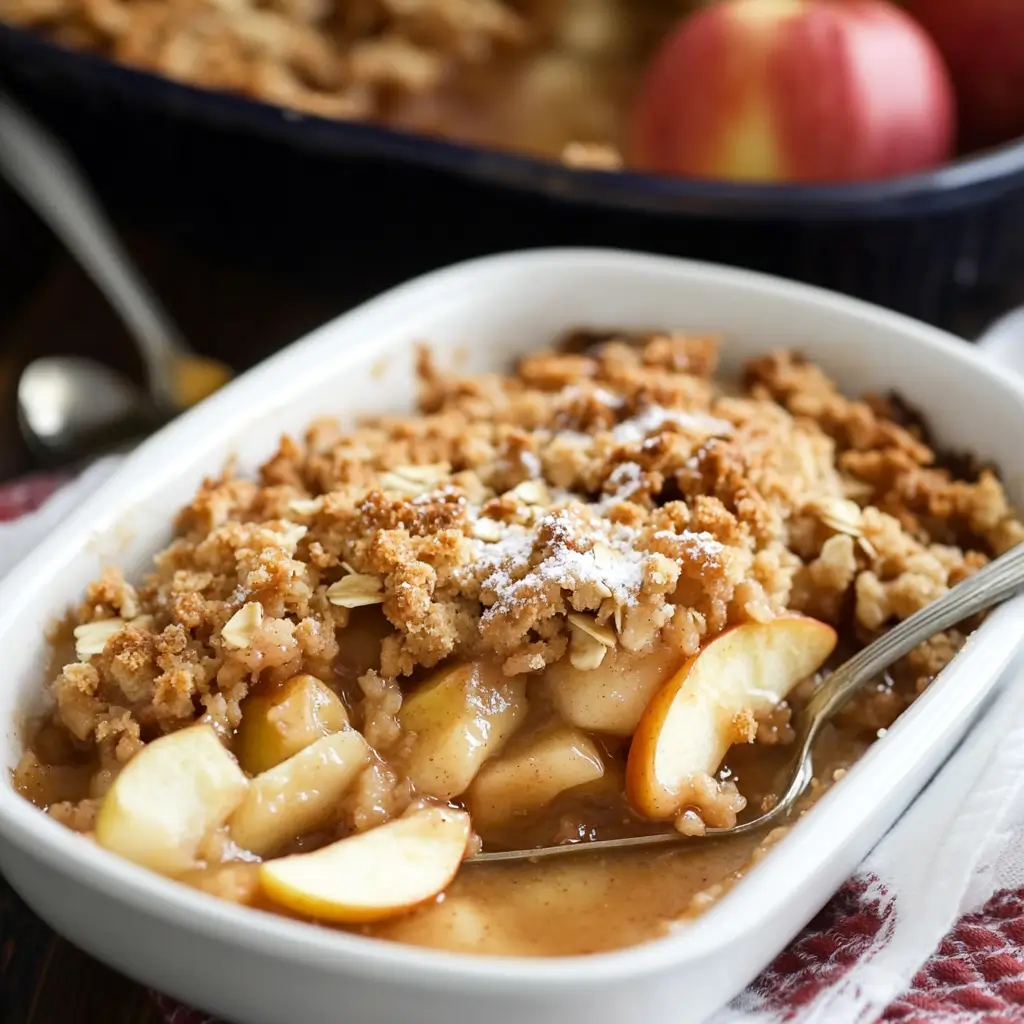
Nothing says comfort like the warm, sweet aroma of baked apples blending with the rich notes of cinnamon. Imagine a golden, crisp topping paired with tender apples that have been gently spiced and sweetened a dessert that feels like a hug from the inside out. An old-fashioned apple crisp is the epitome of homestyle baking, offering a delightful combination of flavors and textures that are both satisfying and nostalgic.
This easy old-fashioned apple crisp recipe with simple ingredients is not just another dessert; it’s a connection to tradition, a slice of warmth, and a treat that can be whipped up without hassle. Perfect for family gatherings, cozy weekends, or simply satisfying that sweet tooth, this recipe is bound to become a beloved staple in your kitchen. Whether you’re baking for a crowd or just treating yourself, this recipe is simple yet full of flavor.
In this article, you’ll discover everything you need to know about making the best apple crisp: from selecting the right apples to crafting the perfect topping. By the end, you’ll be equipped to create an apple crisp that will have everyone coming back for more.
What Makes This Old Fashioned Apple Crisp Special?
When it comes to desserts, there’s something truly magical about an apple crisp. But what makes this particular recipe stand out?
The Perfect Balance of Texture and Flavor
A great apple crisp doesn’t just satisfy your taste buds it excites them. In this recipe, the apples are tender, perfectly spiced, and slightly tart, while the topping is golden, buttery, and delightfully crispy. Every bite combines the warmth of the apple filling with the satisfying crunch of the topping. The balance between these textures is key to making a perfect apple crisp.
Simple, Pantry-Friendly Ingredients
Gone are the days of complicated recipes with hard-to-find ingredients. This easy old-fashioned apple crisp recipe calls for basic pantry staples that you likely already have on hand. With just a handful of ingredients, you can create a dessert that’s far more delicious than you might expect.
A Nostalgic Classic
Apple crisp is the kind of dessert that brings people together. Whether it’s a special occasion or just a weekday treat, its comforting, homey flavors instantly transport you to a simpler time. It’s the kind of dish that’s passed down through generations, with each cook adding their own twist to a timeless favorite. This recipe stays true to the classics, honoring the traditions of home baking while keeping it accessible for everyone.
Ingredients for the Perfect Apple Crisp
You don’t need fancy or complicated ingredients to create a delicious apple crisp. Below is a simple list of ingredients that will help you bake a perfect apple crisp with ease.
| Ingredient | Amount | Purpose |
|---|---|---|
| Apples (Granny Smith or Honeycrisp) | 6-7 medium apples | Provide a tart base that balances the sweetness |
| Granulated Sugar | 1/2 cup | Adds sweetness to the apple filling |
| Brown Sugar | 1/4 cup | Gives the topping richness and moisture |
| Ground Cinnamon | 1 tsp | Adds warmth and depth of flavor to the apples |
| All-Purpose Flour | 1/2 cup | Thickens the apple filling |
| Old-Fashioned Oats | 3/4 cup | Adds texture and crunch to the topping |
| Unsalted Butter | 1/2 cup (1 stick) | Provides moisture and helps create the crisp topping |
| Salt | 1/4 tsp | Balances the sweetness of the sugars |
| Lemon Juice | 1 tbsp | Brightens the apple flavor and prevents browning |
How to Make Old Fashioned Apple Crisp: Step-by-Step Instructions
Creating this apple crisp is easier than you think. The following steps will guide you through each stage of the process, so you can make a delicious, comforting dessert that your friends and family will love.
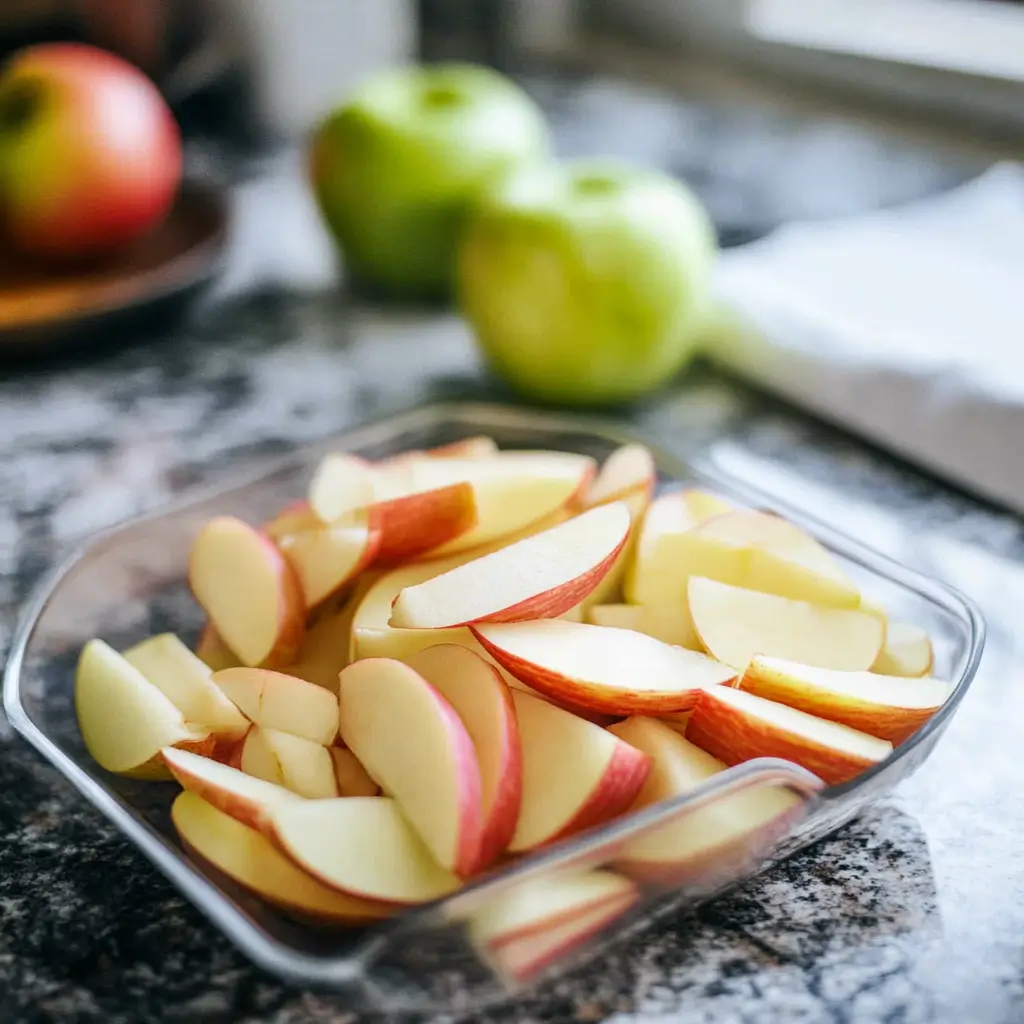
1. Prepare the Apples
Start by peeling, coring, and slicing your apples into even pieces. This will help them cook evenly. Granny Smith apples are an excellent choice because of their tartness, but Honeycrisp apples also work beautifully for their sweetness and crunch.
- Tip: Make sure your apple slices are uniform in size to ensure even cooking.
In a large bowl, toss your sliced apples with granulated sugar, ground cinnamon, and lemon juice. The sugar will help the apples release their juices as they bake, while the cinnamon will infuse them with a warm, comforting flavor. The lemon juice prevents the apples from browning too quickly and enhances their flavor.
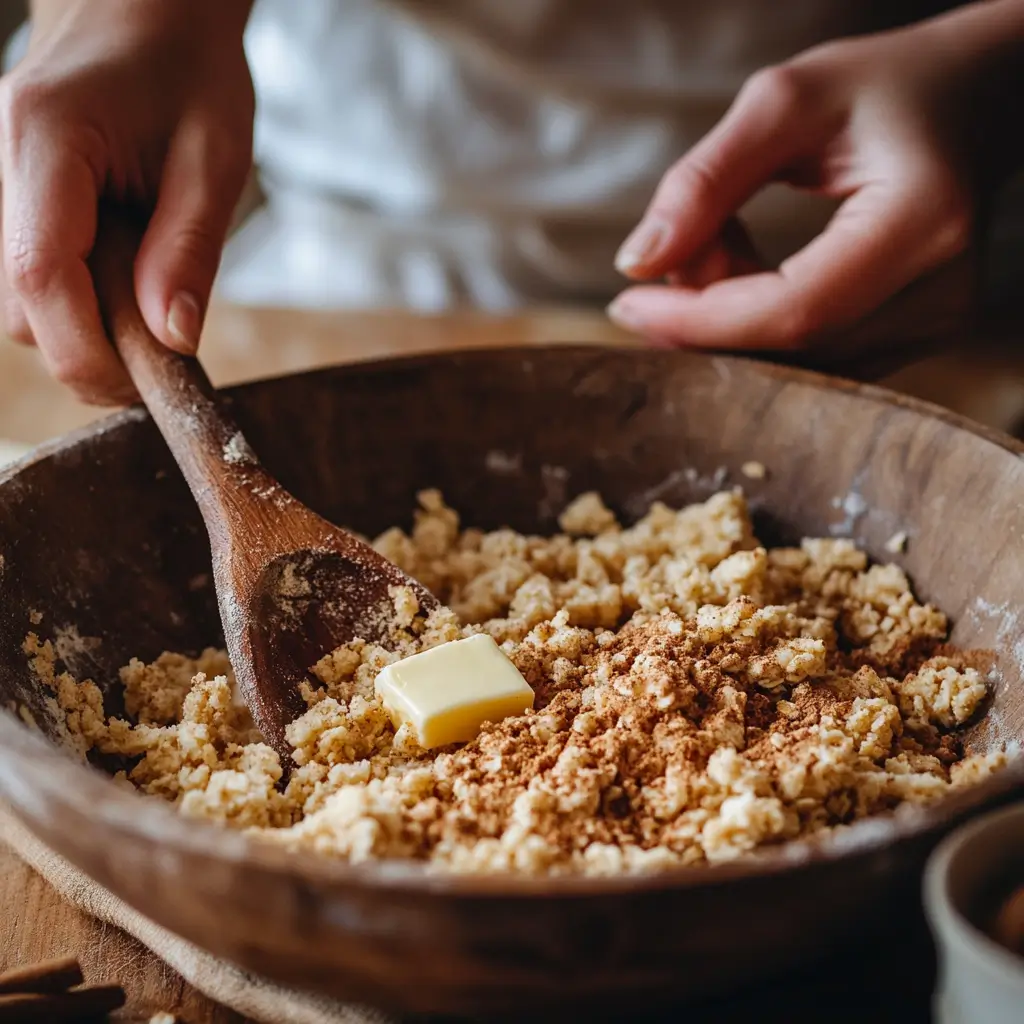
2. Make the Crisp Topping
In another bowl, combine the flour, oats, brown sugar, and salt. Stir until everything is evenly distributed. Now, cut the butter into small cubes and add it to the dry ingredients. Use a pastry cutter or your fingers to incorporate the butter into the mixture until it forms coarse crumbs.
- Tip: You can also use a food processor for quicker and more even mixing.
The butter in the topping is what will create that golden, crispy crust that contrasts so perfectly with the soft apple filling.
3. Assemble the Crisp
Spread your prepared apples evenly into a greased 9×9-inch baking dish. Once the apples are in place, sprinkle the crisp topping evenly over the apples, covering them completely. Make sure the topping is distributed evenly to ensure a crispy, golden finish.
4. Bake the Apple Crisp
Place your assembled apple crisp into a preheated oven at 350°F (175°C) and bake for 40-45 minutes. Keep an eye on it as it bakes once the topping is golden brown and the apple filling is bubbling, it’s ready.
- Tip: If the topping is browning too quickly, you can cover the dish loosely with aluminum foil and continue baking until it’s done.
Tips for the Best Apple Crisp
To make sure your apple crisp turns out perfectly every time, here are a few tips you can use:
Choose the Right Apples
The type of apples you use makes all the difference in your apple crisp. Granny Smith apples are a classic choice because of their tart flavor and firm texture, which hold up well during baking. Honeycrisp apples are another great option, providing a sweeter and juicier filling. Feel free to mix and match different apple varieties to get the perfect flavor balance.
Make It Ahead of Time
One of the best things about this apple crisp recipe is that you can make it ahead of time. Prepare the apple filling and topping, and store them separately in the fridge. When you’re ready to bake, simply assemble the dish and pop it into the oven. This is especially useful if you’re hosting guests or need to prepare dessert in advance.
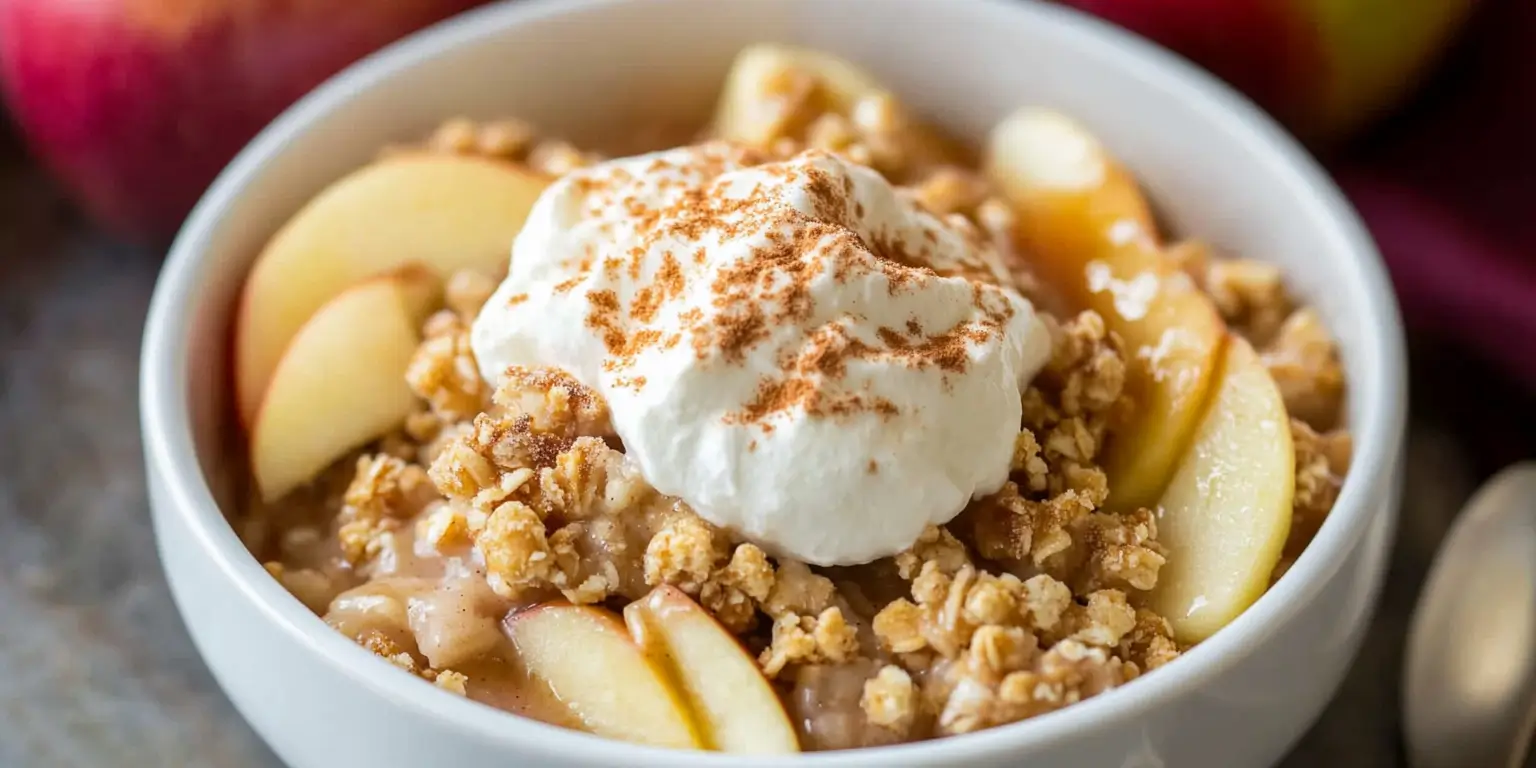
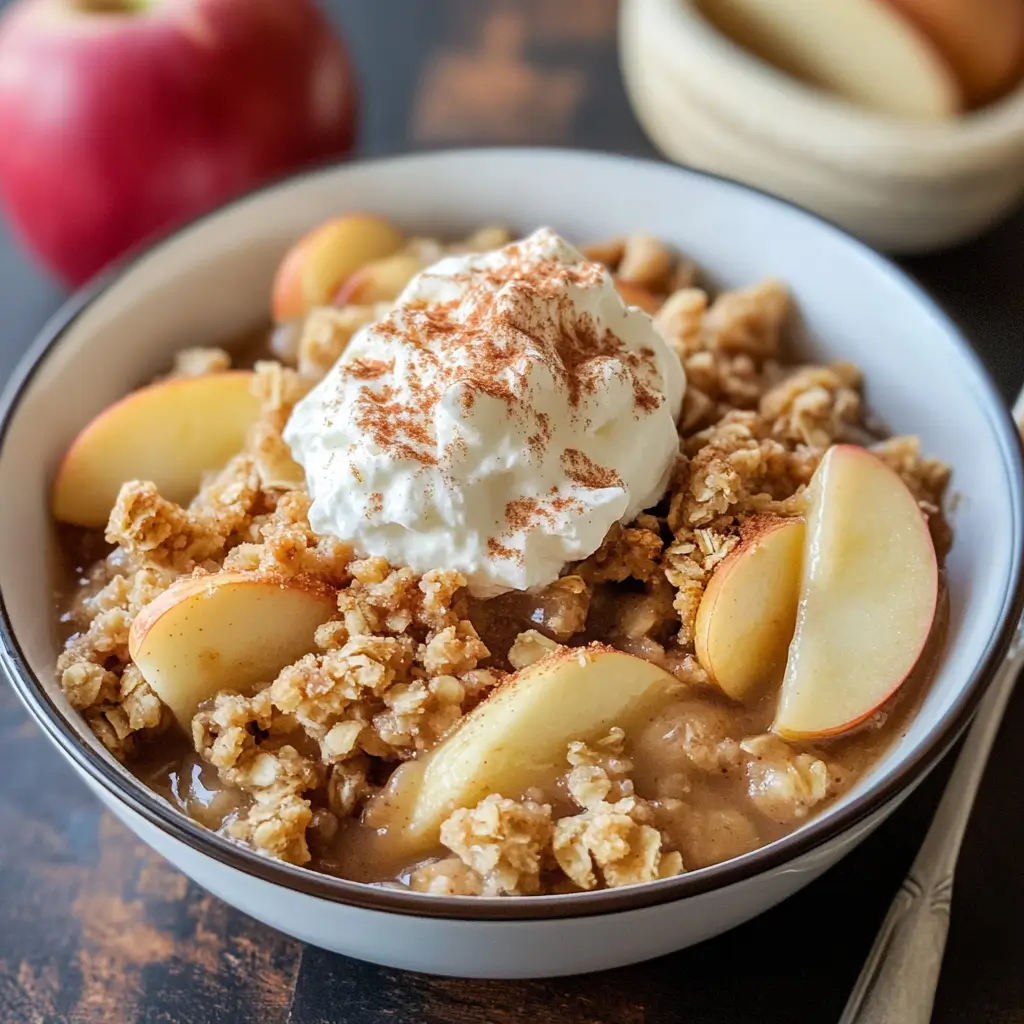
Serve with Ice Cream or Whipped Cream
Apple crisp is delicious on its own, but adding a scoop of vanilla ice cream or a dollop of whipped cream takes it to the next level. The cold creaminess contrasts perfectly with the warm, spiced apples and crisp topping.
How to Store and Reheat Apple Crisp
Storage
If you have leftovers (or simply want to make it ahead of time), store your apple crisp in an airtight container in the fridge. It will keep for up to three days. The flavors continue to meld together, making it just as delicious the second time around.
Reheating
To reheat, simply place the apple crisp in a 350°F (175°C) oven for about 10-15 minutes. This will help the topping crisp up again and warm the filling through. If you’re in a hurry, you can also microwave individual portions for 30-45 seconds, but keep in mind the topping won’t stay as crispy.
FAQ
Can I use different types of apples for this apple crisp recipe?
Absolutely! While Granny Smith and Honeycrisp are highly recommended, you can also use other apples like Fuji, Gala, or Braeburn. Choose apples that are firm and slightly tart for the best results.
Can I make this recipe gluten-free?
Yes, you can easily make this apple crisp gluten-free by substituting the all-purpose flour with a gluten-free flour blend and ensuring that your oats are certified gluten-free.
Can I add nuts to the topping?
Definitely! If you love a little extra crunch, adding chopped walnuts or pecans to the topping will give it a nice texture and flavor. Just stir them in with the dry ingredients before adding the butter.
Can I double the recipe for a larger crowd?
Yes, you can double the ingredients and bake the apple crisp in a larger baking dish. Just be sure to adjust the baking time accordingly, as it may take a bit longer to bake through.
Conclusion
Now that you’ve discovered how to make this easy old-fashioned apple crisp with simple ingredients, it’s time to start baking! This recipe is perfect for any occasion, whether you’re enjoying a quiet night at home or hosting friends and family for a special gathering. With its simple ingredients, easy preparation, and comforting flavors, this apple crisp is sure to be a crowd-pleaser.
So what are you waiting for? Grab your apples, gather your ingredients, and treat yourself (and your loved ones) to a dessert that’s as timeless as it is delicious.